Golden hour for wedding portraits runs approximately 20–40 minutes after sunset (or before sunrise), when the sun drops below the horizon and diffused warm tones fill the sky. The best poses during this window use backlighting to rim-light the couple's silhouettes: a forehead-touch with faces angled toward the fading light, a slow walk away from camera, and a loose embrace with both partners turned 45° to the horizon. Scout your location at least 30 minutes before the window opens — the light moves fast and the best spots disappear in under 5 minutes.
What is the exact timing window for golden hour portraits at a wedding?
Golden hour officially begins when the sun is less than 6° above the horizon and peaks in the 10–15 minutes after it drops below. At most mid-latitude venues in summer, this means shooting between 7:50 PM and 8:20 PM. Use a free app like PhotoPills or The Photographer's Ephemeris to calculate the precise minute for your venue and date. Build the portrait slot into the timeline at least 3 days before the wedding so the couple and planner expect it.
Which poses work best in backlit golden hour light?
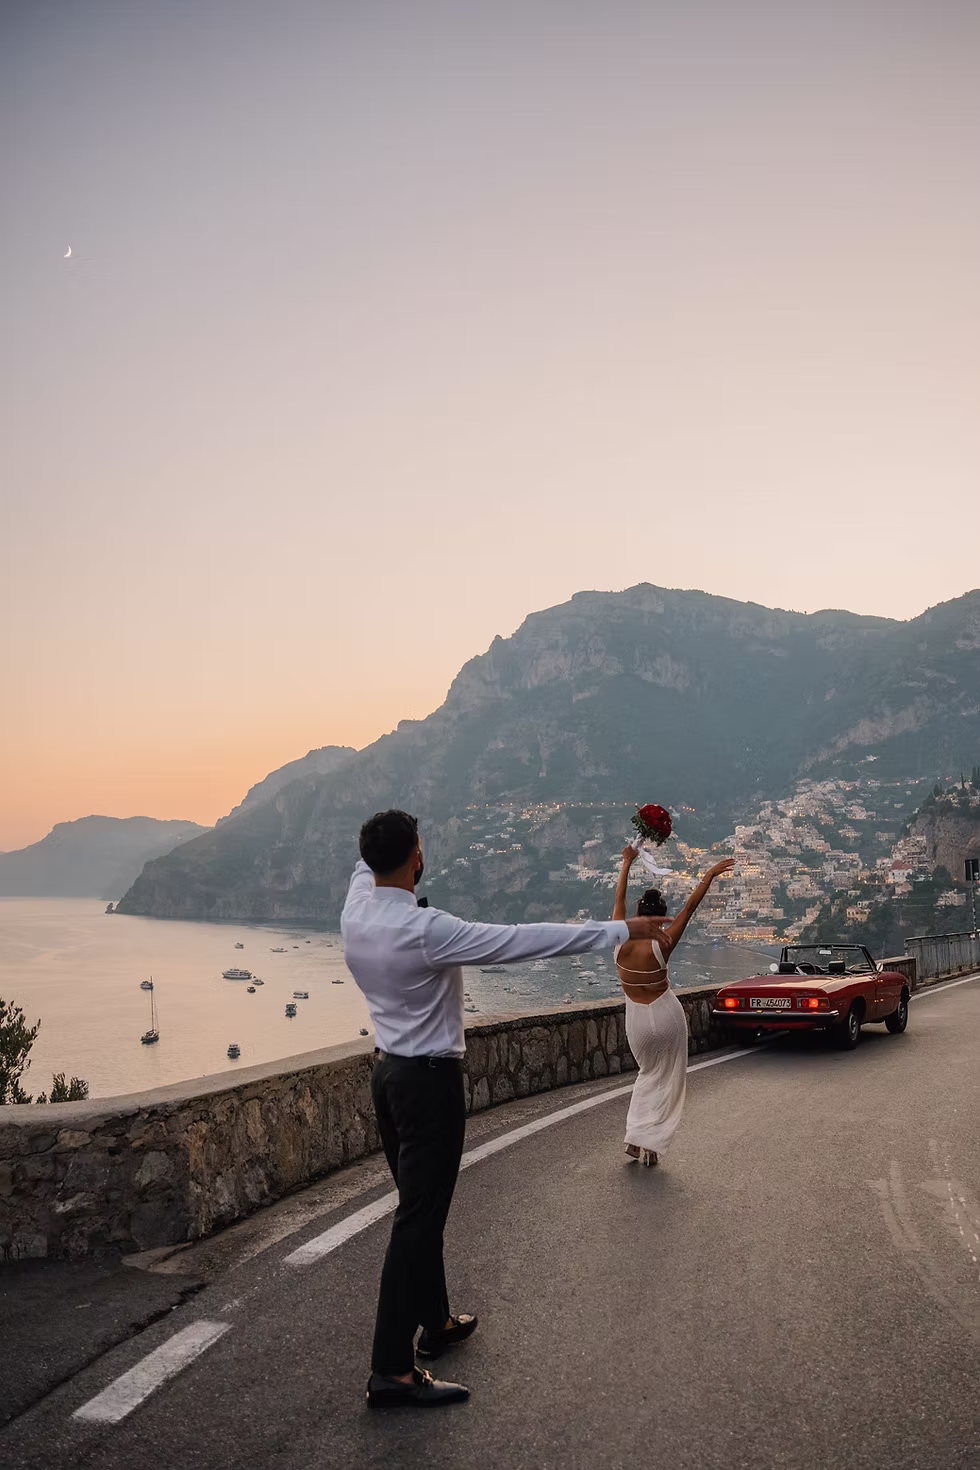
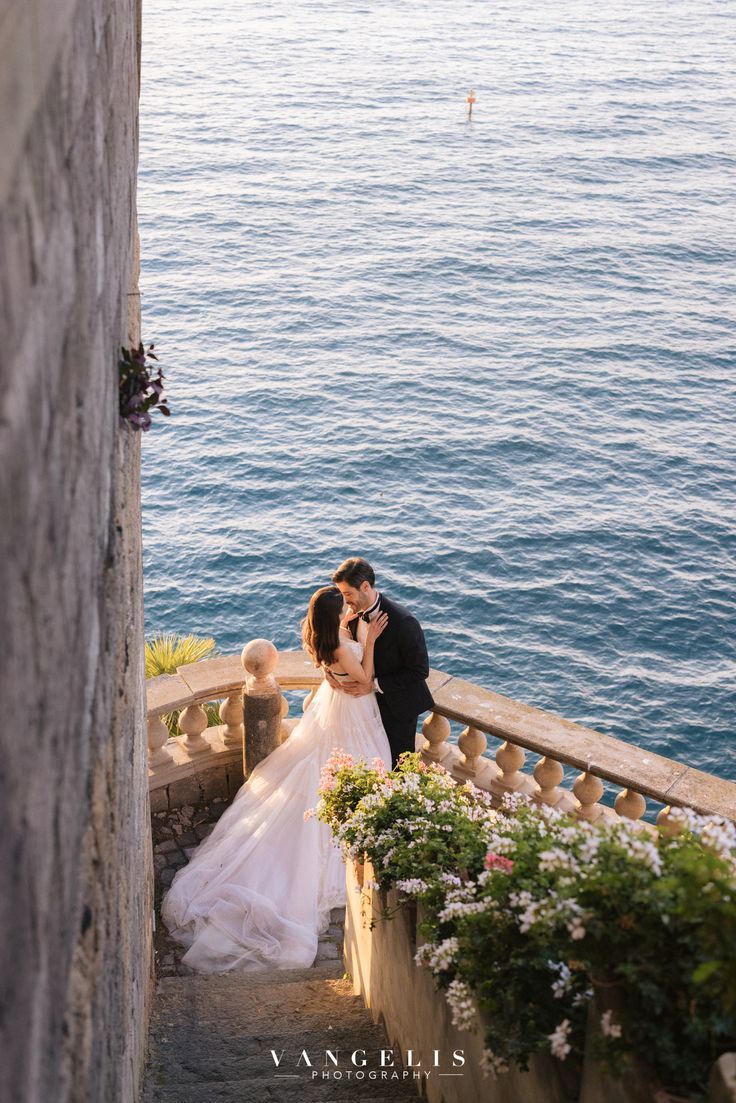
Six poses consistently deliver strong results in backlit golden hour conditions. (1) The silhouette kiss — couple kisses in front of the light source, shot at f/8 or narrower for a full horizon flare. (2) Forehead touch — faces close, eyes closed, turned toward the light so cheekbones catch the glow. (3) The walk-away — couple walks hand-in-hand directly away from camera into the light. (4) Dip — dramatic, creates strong rim light on the bride's dress. (5) Candid laugh — prompt a genuine reaction, then shoot. (6) Solo bridal portrait — have the groom step aside for 90 seconds. Photographers who use UPose to pre-build a golden hour shot board can swipe through these references hands-free on shoot day without breaking the session's momentum.
How do you expose correctly for backlit golden hour portraits?
Backlit golden hour scenes have a dynamic range of 5–8 stops, wider than most sensors handle cleanly in a single frame. Expose for the couple's faces — meter off a mid-tone on skin — and let the background blow out slightly. Shoot in RAW at ISO 400–800, f/2.0–f/2.8, and use a reflector or a -2/3 EV fill flash at high-speed sync (1/1000s or faster) to open up shadows on faces. Avoid center-point metering; switch to spot metering locked on the cheek.
How do you manage 20 minutes of golden hour on a real wedding day?
Pre-communicate the plan so the couple is already walking to the location when golden hour starts — not still at the reception table. Set a hard 18-minute cap: 6 minutes on group backlit poses, 6 minutes on intimate couples poses, 6 minutes for experimental or detail shots (silhouette, wide environmental, flare). Assign a second shooter to handle the 50mm while you work the 85mm or 135mm. Flag your 6 hero shots before you shoot using a reference board — tools like UPose let you organize these by moment type so nothing is missed in the rush.
Frequently Asked Questions
How long does golden hour actually last at a wedding venue?+
What lens is best for golden hour wedding portraits?+
Should I use flash during golden hour portraits?+
What if the wedding venue has no open horizon for golden hour?+
How do I plan golden hour poses in advance with my clients?+