You have spent months planning the perfect wedding. The flowers are stunning, the venue is breathtaking, and the golden hour light is rolling in right on schedule. Then you get your photos back and something feels off. The images are technically fine — good exposure, nice composition — but the couple looks stiff, uncomfortable, or just slightly wrong in ways that are hard to pinpoint.
More often than not, the culprit is posing. Small, easily correctable mistakes in body position can turn an otherwise beautiful photograph into one that never makes it to the wedding album. The good news is that these mistakes are predictable, universal, and fixable in seconds once you know what to look for. Here are the five most common posing errors that ruin wedding photos and exactly how to fix each one.
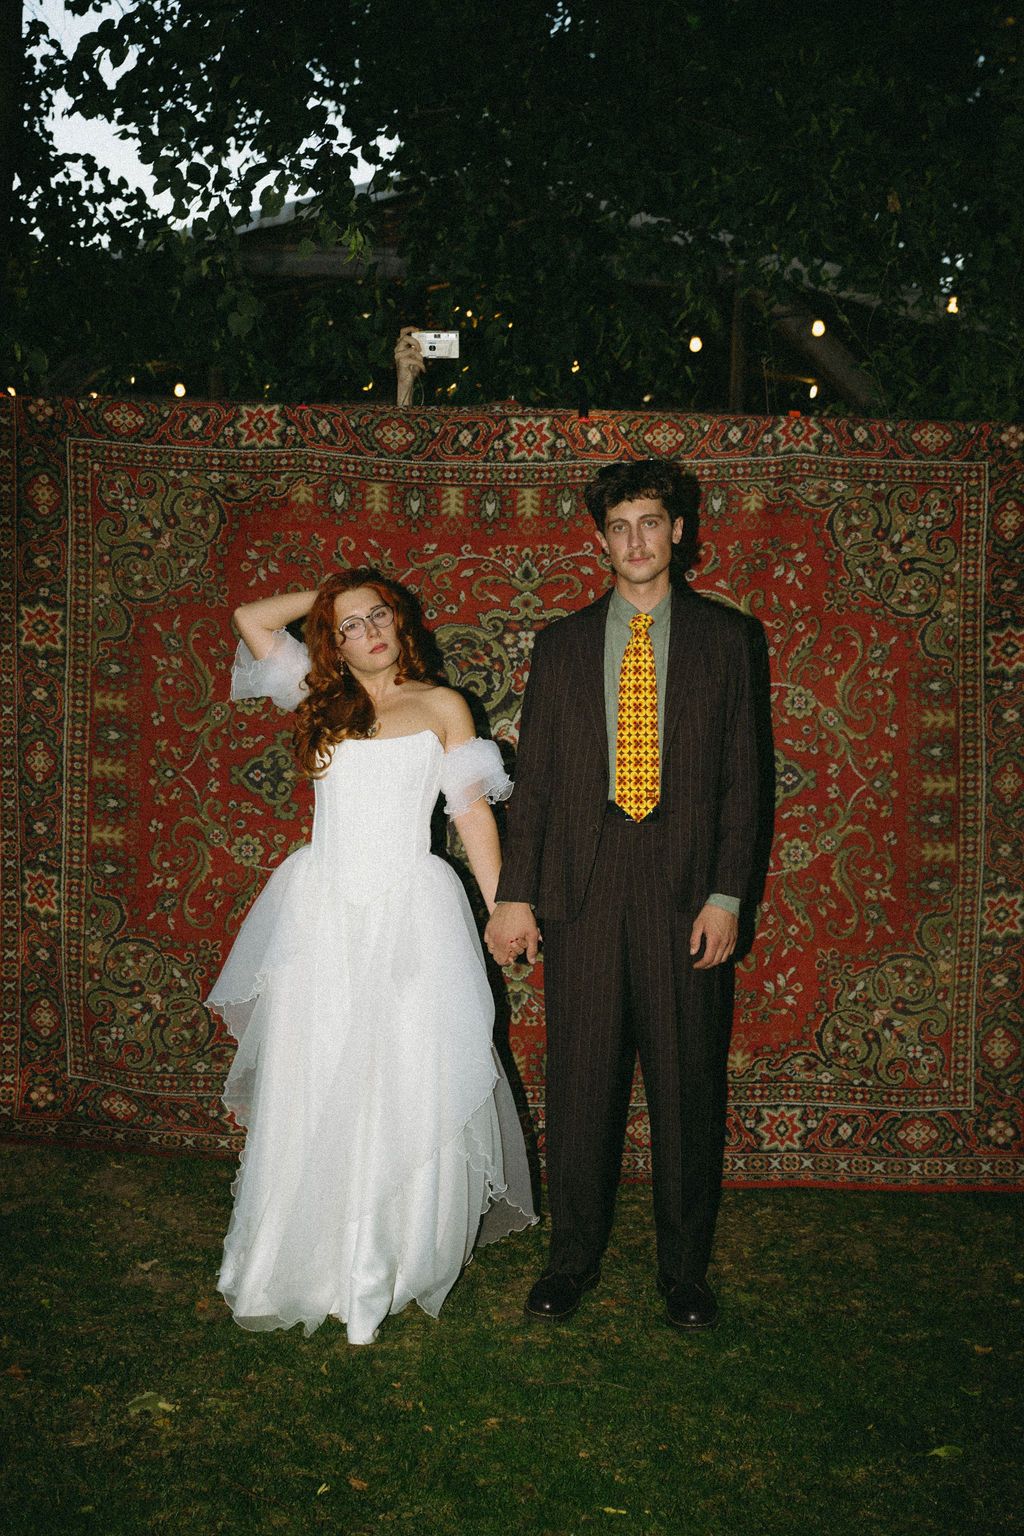
Mistake 1: Awkward Hands
Hands are the number one posing problem in wedding photography, and it is not even close. They are one of the most expressive parts of the body, which means they are also one of the most noticeable when they look wrong. Awkward hands can derail an otherwise perfect portrait.
What Goes Wrong
The most common hand mistakes include the claw grip, where fingers dig into a partner's arm or waist with visible tension; dangling fingers, where hands hang limply at the sides with no purpose or direction; flat palms pressed against a partner's back like a stop sign; and the death grip on a bouquet, where knuckles turn white from squeezing too hard.
Hands reveal nervousness faster than any other body part. When people do not know what to do with their hands, they either clench them or let them go completely limp. Both look unnatural in photographs.
The Fix
Give every hand a job. For the bride, lightly holding the bouquet at waist height with relaxed fingers is the simplest solution — the bouquet acts as a natural hand anchor. When the bouquet is not in frame, have her place one hand softly on the groom's chest or lapel, or let her fingers rest gently on his arm.
For the groom, one hand in a pocket with the thumb out looks relaxed and confident. The other hand can rest on the bride's waist with fingers softly spread — not gripping, just placed. When holding hands, the grip should be gentle enough that you could slide a sheet of paper between the palms. Instruct couples to think of their hands as being "soft" rather than trying to hold a specific position.
A quick trick: have the couple shake their hands out vigorously for three seconds, then gently bring them back to position. The residual relaxation carries into the pose.
Mistake 2: Stiff Shoulders
Tense, raised shoulders are the visual equivalent of shouting "I am uncomfortable." They make the neck appear shorter, the jawline less defined, and the overall posture rigid. In wedding photography, where elegance and ease are the goal, stiff shoulders are the enemy.
What Goes Wrong
Most people carry stress in their shoulders without realizing it. The moment they stand in front of a camera, that tension doubles. Shoulders creep up toward the ears, the neck compresses, and the entire upper body looks locked in place. This is especially common during the first few poses of a session before the couple has warmed up.
Stiff shoulders also affect posture downstream. When shoulders are raised, the chest tends to collapse, the back rounds slightly, and the chin pushes forward — a cascade of postural problems that stem from one area of tension.
The Fix
The roll and drop technique works every time. Ask the couple to roll their shoulders up toward their ears, back behind them, and then drop them down. This motion releases tension mechanically and resets the shoulder position to where it should naturally sit. Do this at the start of every new setup.
Movement prompts also help enormously. Instead of asking the couple to stand still and look relaxed, give them something to do: walk slowly toward each other, sway gently side to side, or take a deep breath together. Movement prevents the body from locking into a rigid position. The transition from movement to stillness often captures the most relaxed, natural posture.
For the bride specifically, a slight forward lean from the waist naturally pulls the shoulders back and down while creating a flattering line through the torso. Coach this as "lean toward him slightly" rather than "pull your shoulders back," which often causes the opposite reaction.
Mistake 3: Forced Smiles
Nothing sinks a wedding photo faster than a smile that does not reach the eyes. The technical term is a non-Duchenne smile — the mouth moves but the muscles around the eyes remain static. The result looks performative rather than genuine, and viewers can spot it instantly even if they cannot articulate why the image feels "off."
What Goes Wrong
The classic instruction "say cheese" is the root cause. It creates a mouth shape that approximates a smile but bypasses the emotional trigger that produces a real one. After holding a forced smile for more than a few seconds, it becomes increasingly strained. The eyes widen with effort, the jawline tenses, and the expression slides from "happy" to "enduring."
Couples who have been photographed for hours are especially prone to smile fatigue. By the portrait session, they have been smiling for family photos, ceremony reactions, and receiving line greetings. Asking for yet another smile without giving them a reason to genuinely feel one produces increasingly hollow results.
The Fix
Replace "smile" with laugh. Tell the couple something genuinely funny. Ask them to tell each other a joke or share their most embarrassing dating story. The laughter that follows is real, involuntary, and photographs beautifully. Even the transition from laughter back to a resting expression produces a natural, warm smile that forced posing never achieves.
The closed-eye reset is another powerful tool. Ask both partners to close their eyes, take a breath, then open them and look at each other. The moment their eyes meet produces a genuine micro-expression of connection — a soft smile, a flash of warmth — that lasts just long enough to capture. This technique also gives facial muscles a brief rest, combating smile fatigue.
Finally, do not ask the couple to hold a smile. Capture it in motion. Give a prompt, let the reaction happen naturally, and shoot through the entire sequence. The best frame is usually two seconds into a genuine laugh, not the held smile that follows the instruction to "hold that."
Mistake 4: Unflattering Angles
Camera angle has an enormous impact on how a person looks in a photograph. A few inches of camera position or a slight tilt of the chin can be the difference between a flattering portrait and one that exaggerates features the subject would rather minimize. In wedding photography, where every image should make the couple look and feel their best, angle awareness is non-negotiable.
What Goes Wrong
The most common angle mistake is shooting from too low with the subject's chin raised, which emphasizes the underside of the chin and can create the appearance of a double chin even on slender subjects. Shooting straight-on at face level can flatten facial features and make the nose appear wider than it is. Placing both subjects at exactly the same distance from the camera, shoulder-to-shoulder, often creates a flat, passport-photo look that lacks depth and dimension.
The Fix
The chin forward and down technique is the single most effective posing adjustment in portrait photography. Ask the subject to push their chin slightly forward (toward the camera) and then angle it down just a fraction. This elongates the neck, defines the jawline, and eliminates the under-chin shadow that creates the double-chin look. It feels strange to the subject but looks exceptional on camera.
The 45-degree rule transforms flat compositions into dimensional portraits. Instead of having both partners face the camera directly, angle their bodies approximately 45 degrees away from the lens, then turn their faces back toward the camera. This creates a slimming effect through the torso and adds depth to the image. The slight body angle also makes it natural for the couple to lean toward each other, creating intimacy in the composition.
For group shots and full-length portraits, shoot from waist height or slightly above rather than from ground level. This perspective keeps proportions natural and avoids the distortion that comes from extreme low angles. For close-up portraits, position the camera at or slightly above eye level for the most universally flattering result.
Mistake 5: Ignoring the Background
A beautiful pose in front of a distracting background is a wasted photograph. It does not matter how perfectly the hands are positioned or how genuine the smile is if there is a trash can growing out of the groom's head or a bright orange traffic cone competing with the bride's bouquet for attention.
What Goes Wrong
In the intensity of directing a couple and managing light, photographers sometimes develop tunnel vision on the subjects and forget to scan the background. Common offenders include exit signs, parked cars, other people wandering through the frame, harsh light patches, power lines, and anything with bright, contrasting colors that pull the viewer's eye away from the couple.
Even subtle background issues cause problems. A tree branch that appears to sprout from someone's head, a horizon line that cuts through the neck, or a cluttered background that makes it impossible to separate the couple from their surroundings — these issues are invisible in the moment but glaringly obvious in the final image.
The Fix
Build a background scan into your shooting routine. Before firing a single frame at any new location, take five seconds to look at the entire frame — not just the center where the couple will stand, but the edges and corners. Check for distracting elements and either reposition the couple, adjust your angle, or physically remove the obstruction if possible.
Depth of field is your best friend for managing imperfect backgrounds. Shooting at a wide aperture (f/1.4 to f/2.8) blurs the background into a smooth wash of color and light, eliminating distracting details while preserving a sense of place. This technique is especially valuable at venues where you cannot control the environment — busy city streets, crowded reception halls, or parks with heavy foot traffic.
When a clean background is simply not available, use foreground elements creatively. Shoot through flowers, leaves, fabric, or architectural elements to frame the couple and obscure background distractions. This technique turns a limitation into a creative advantage, adding depth and visual interest to the composition.
"The difference between a good wedding photo and a great one is usually not talent or equipment — it is awareness. Being aware of the hands, the shoulders, the expression, the angle, and the background, all at once, every frame."
Quick-Fix Checklist
Print this out, save it to your phone, or load it into UPose. Run through it at the start of every portrait setup:
- Hands: Does every hand have a purpose? Soft grip, no claw, no dangling.
- Shoulders: Are they rolled back and dropped? Do the roll-and-drop reset.
- Smile: Is it genuine? Use a laugh prompt or closed-eye reset instead of "say cheese."
- Angle: Chin forward and slightly down? Bodies at 45 degrees? Camera at or above eye level?
- Background: Did you scan the full frame? Any distractions? Adjust position or open up aperture.
These five fixes take seconds each but transform the quality of the final images. The best wedding photographers do not just know great poses — they know how to troubleshoot common problems in real time, making micro-adjustments that turn good frames into portfolio-worthy ones.
Build Better Habits with UPose
Knowing these mistakes intellectually is one thing. Catching them consistently under the pressure of a live wedding day is another. UPose helps bridge that gap by providing pose references that already account for proper hand placement, body angles, and positioning. When you are working from a curated board, you spend less mental energy inventing poses on the fly and more attention on the details that separate amateur snapshots from professional portraits. Browse the library, build your boards, and let UPose be your second set of eyes on every shoot.